What is Klipper? And why would you move away from Marlin?
Klipper is a 3d-Printer firmware. It combines the power of a general purpose computer with one or more micro-controllers.
While I did not have any issues with Marlin, in fact I think it is a very well maintained and stable firmware for most printers, I liked the approach Klipper takes.
Marlin is the whole firmware, you don’t need anything else to run your printer. Your Printer Mainboard holds the firmware and does the heavy lifting. Usually these mainboards are powered by a microcontroller, often a simple 8-bit MCU like an Arduino Mega. These boards have limited RAM and limited flash size, so especially on older boards, you can not activate all features of Marlin, as they simply do not fit the flash. Usually that’s not a problem.
In my case, I wanted to test Linear Advance on Marlin as well as Input Shaping or Resonance Compensation as it’s called for Klipper.
But my RAMPS1.4 Board would not run, probably due to lack of enough Flash.
And that’s why I switched to Klipper! Let’s have my Pi do the heavy lifting!
How does Klipper solve it? Your Flash will not grow, just by switching the firmware?
I haven’t used the SD-Card of my printer since the first print years ago, I switched to OctoPrint as I wanted a simple way to manage my printer remotely. So I bought a RPi, flashed OctoPi and of I went.
Klipper is using the same setup, with the difference, that the RPi (or any other machine) is not optional. The Klipper Firmware you flash on your device is pretty generic. Obviously it needs to match your MCU, but it does not contain any configuration or settings like you are used to from Marlin. The Firmware does not know what kind of printer it runs on or what features it supports.
Meaning: we now have all the RAM & CPU and Disk the SBC/RPi has to offer! The MCU/microcontroller only needs to receive the commands from the SBC! The SBC will handle everything except the connection to the drivers/motors and sensors.
So with this in mind, make sure you have a SBC handy, e.g. an RPi and connect it to your Printer. And follow the installation instructions from the official Klipper documentation. Or keep reading the next paragraphs.
Install MainsailOS and build Firmware
I mentioned OctoPrint earlier, while you can use OctoPrint with Klipper, I decided to switch to MainsailOS which bundles Mainsail into an image, making it easier to get started. Mainsail is a Frontend for Moonraker which exposes an API to control Klipper.
After the installation of MainsailOS, open an SSH session. You should find the ~/klipper/ folder and klipper service is probably running. Depending on your MCU/Mainboard, you need special build instructions, you can find them in the printer configuration file.
If there is no comment, you can follow the build instructions for Klipper. The TUI will guide you through the setup. Afterwards you will flash your printer with Klipper, still unconfigured.
In my case, with a RAMPS1.4 Board, I select the ATmega AVR Architecture with atmega2560 as processor model.
- (not necessary when starting from scratch) run
make clean make menuconfig-> Select your Architecture and processor of your controller boardmake- find your interface with the controller (in my case it’s plugged via USB to the PI running MainsailOS) with
ls /dev/serial/by-id/* - stop the klipper service:
service klipper stop - flash with
make flash FLASH_DEVICE=/dev/serial/by-id/usb-Arduino__www.arduino.cc__0042_YOUR_ID_HERE-if00 - start the klipper service
service klipper start
You can always go back to Marlin if you want, simply compile a new firmware as you used to, flash it.
Printer Configuration
Now, as I mentioned, the heavy lifting will be done by the RPi and not by the 8-Bit MCU. The upside is obvious, we can now run every feature which can be handled by our SBC/RPi. If that is not enough anymore, use a fully fletched machine or supercomputer.
So we now need a configuration file, to tell all parties involved, what our printer is capable of.
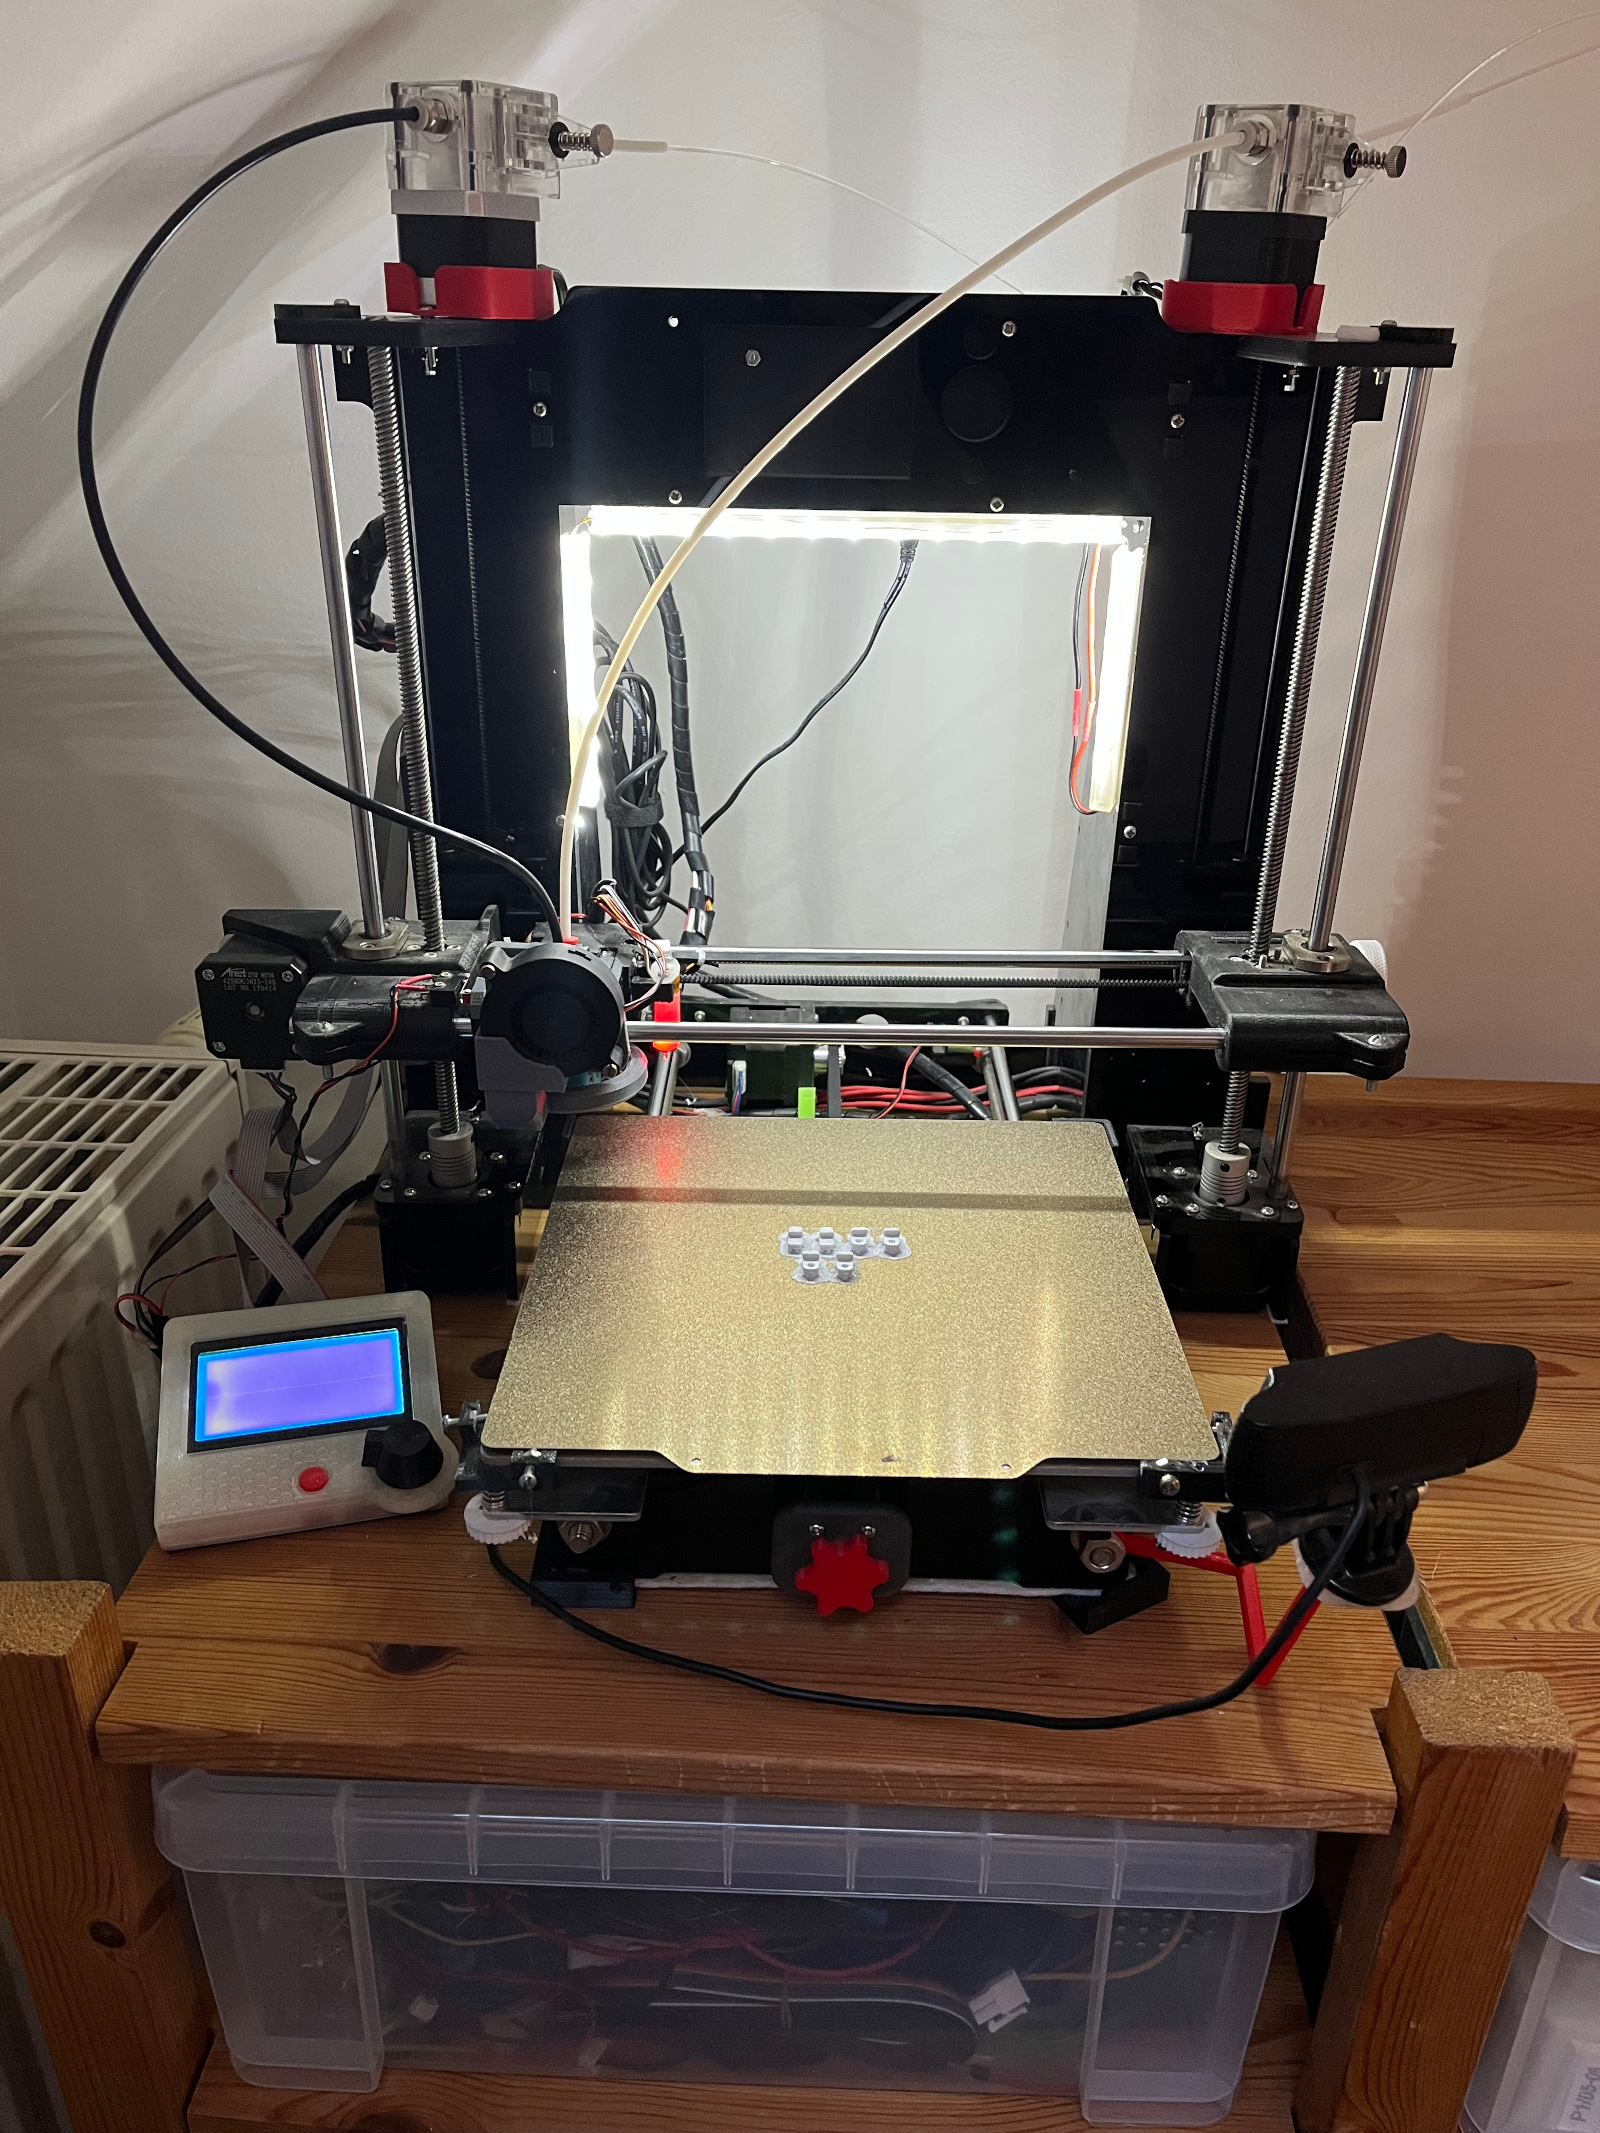
As I mentioned before, my original Anet A6 Mainboard is no longer working. I think I shorted it somehow. Wasn’t sad about it, as apparently it can become a fire hazard. So I replaced it with a RAMPS1.4, replaced the PSU as well as integrated MosFETs for the Heatbed and Hotend. I also added a second Extruder Motor, as I am using a Multi-Material Hotend and a TouchBL as Z-Endstop. I kept the original display and used a simple adapter to connect it.
But wait, while I’m already on it, why not change the stepper drivers as well! Nothing more fun then widening the scope of a project, while you’re already on it. Everyone loves it! (Do not try at work, everyone will hate you for it!)
So I decided to try if TMC2209 will actually make my printer more silent. I am not suing the UART connection - yet.
So summarized I need:
- 3 Axis - X,Y,Z
- 2 Extruders
- 1 Hotend
- BL-Touch Support
- TMC2209 Stepper driver
One challenge was to convert the steps of the motors to the rotation_distance setting in Klipper. I found different datasheets for the motors of my AnetA6 with different data, so I had to calibrate again - damn!
Also the way multiple extruders with a single Hotend is handled is different, but smart!
The resulting config can be found in my github repo, which will be updated whenever necessary.
Copy the printer.cfg to your /home/pi folder (if you are on MainsailOS).
Moonraker Configuration
Besides Klipper the new Setup with MainsailOS can also be tuned. I am using HomeAssistant to control the PSU of the Printer as well as the SBC. In the past OctoPrint powered on the PSU when it was necessary and powered it off in case of a problem or when a print was completed. I wanted to accomplish the same with MainsailOS.
I had to activate the Job Queue, so adding/uploading a file, can trigger the PSU.
And I had to configure the power switch of the PSU for moonraker.
To do this, create or edit the moonraker.cfg in /home/pi/printer_data/config/moonraker.conf and add the following config:
[file_manager]
enable_object_processing: False
queue_gcode_uploads: True

[job_queue]
load_on_startup: True
automatic_transition: False


[power printer_psu]
type: homeassistant
protocol: https
address: hass.local
port: 443
device: switch.3d_printer_psu
token: long-ass-token
domain: switch
initial_state: off
off_when_shutdown: True
on_when_job_queued: True
If you don’t use Homeassistant, adapt the [power printer_psu] part.
Mainsail Config
If you want to adapt some settings with mainsail, feel free to use my config file as well, which handles print cancellations different (move the print head out of the way). Copy it to /home/pi/mainsail-config/client.cfg
Summary
After flashing the generic Klipper Firmware, installing MainsailOS, the biggest challenge was to get a working printer.cfg
Addon: Track your Filament Usage
As a nice addon, I found Spoolman an open source tool, you can simple self host to track your filament usage. You can add it to home-assistant as well. So you can basically automate, the new purchase of filament ;)
Simply add
[spoolman]
server: https://spoolman.local.sesc.one
#   URL to the Spoolman instance. This parameter must be provided.
sync_rate: 5
#   The interval, in seconds, between sync requests with the
#   Spoolman server.  The default is 5.
to your moonraker.cfg